I had a great day up at Trafalgar yesterday with Monty and Grant. See the posting below.
http://montythe1928chevrolet.blogspot.com/2012/01/rest-water-pump-new-wiring-harness.html
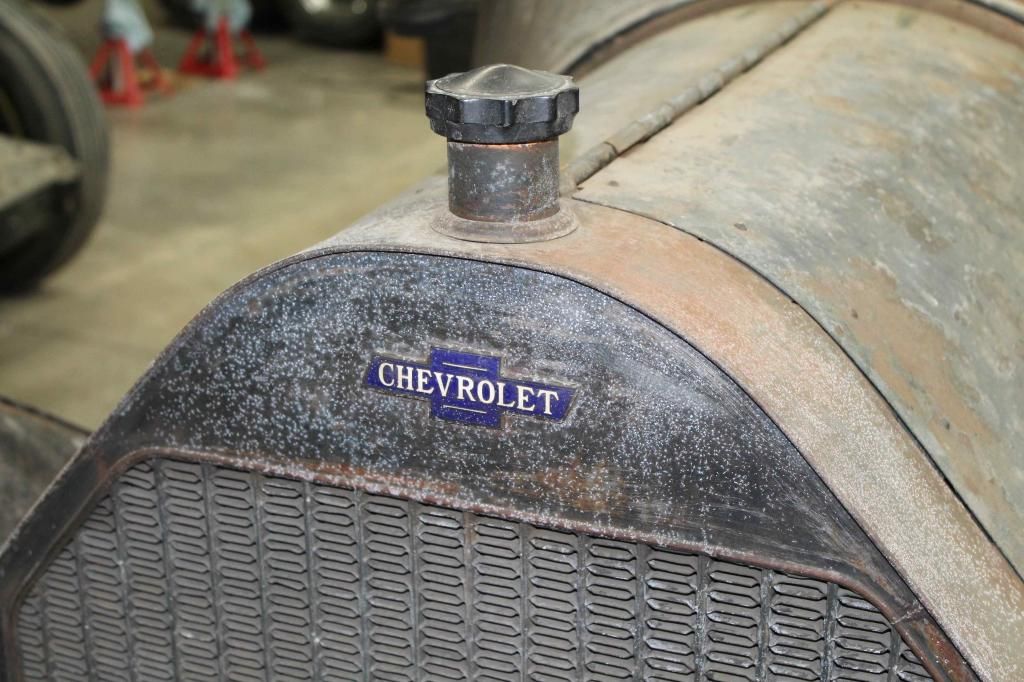
Pity the same could not be said for the Red Chev. Head wind on the way up, which is not the best driving conditions for a car with the aerodynamics of a brick. Working pretty hard, a few coughs and splutters, but we made it in the end.
Now coming home seemed a breeze, tail wind pushing me along, sitting on 86 k's most of the way, accelerating up the hills, all the sort of stuff it would not do on the way up. Non stop from Trafalgar to 100 metres from the Eastlink turn off on the Monash freeway, and the fire goes out. So here I am, about 115 miles driven, and about 10 k's from home, on the side of one of Melbourne's busiest freeways on on Sunday afternoon, and its about 30 degrees if not warmer.
Tried all the basic stuff, checked the fuel pump, started to think about pulling out the toolbox and a little voice said, NO. Only about a metre between me and the traffic doing 100 kph on one side and a metre on the other side to the concrete barrier. Bugger it, I called the RACV for a Tow truck. Why not, that's why I am in total care. Turned out to be a very wise decision as you will see later it would have been a difficult job to do on the side of the road.
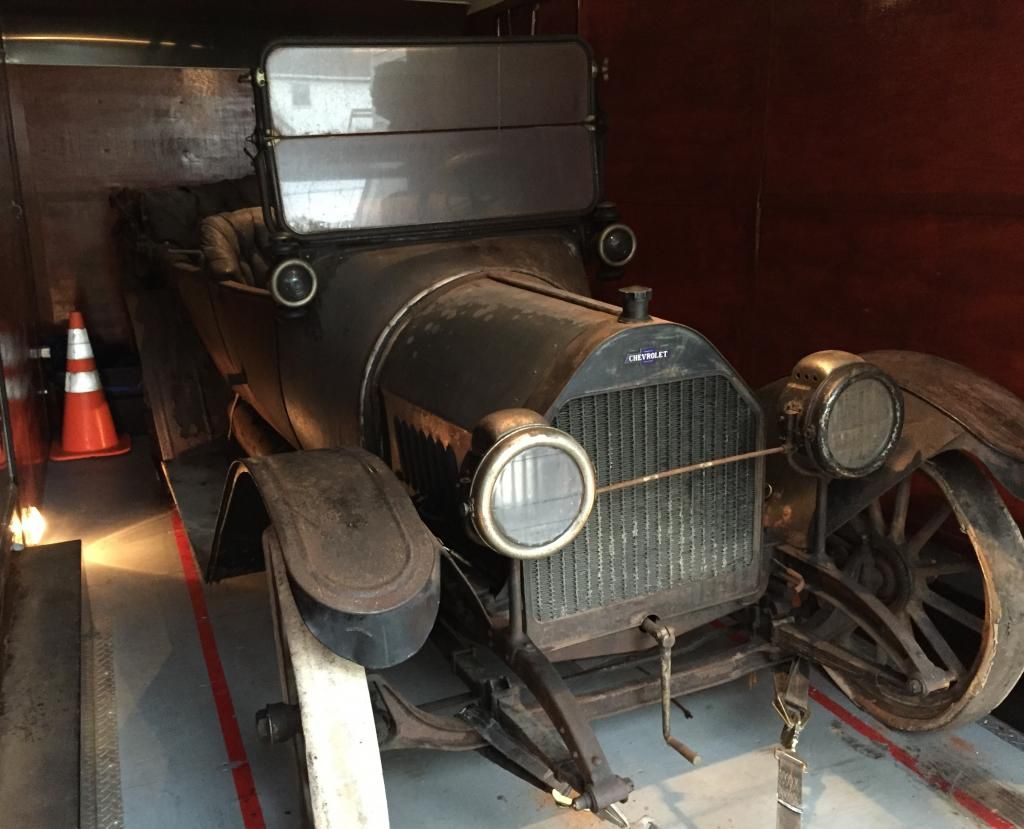
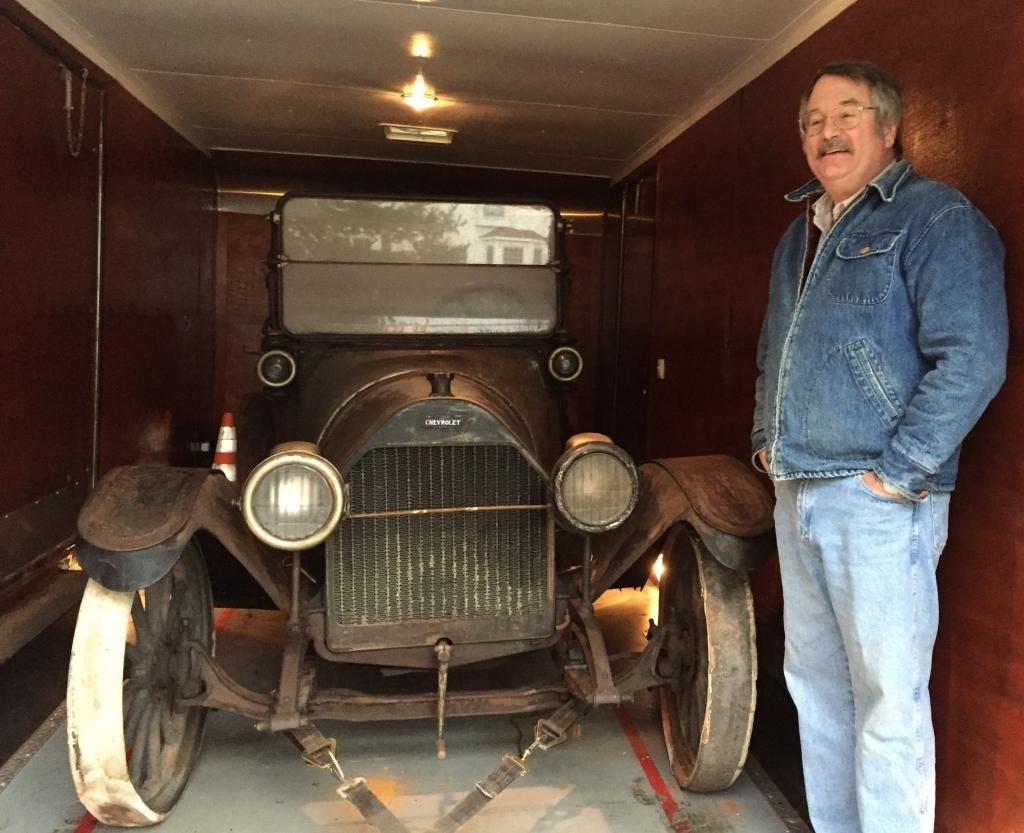
So there I am cooling my heels for about an hour waiting for the flat top, while the Red Chev sits there sulking on the side of the Monash knowing it has to face the embarrassment and shame of coming home on the back of a tow truck for only about the second or third time in 38 years.
Tow truck arrives, loads up the patient and we head for The Basin. Great driver, even managed to get the car into the garage on a up hill driveway. Boy did that save me some blood sweat and tears.
About an hour later I motivated myself to take a look at the problem, and started with the basics:
1. Checked the fuel pump. Working fine
2. Checked the points. A bit dirty and slightly burnt. Cleaned up the faces.
3. Checked to verify power to the coil, power from the coil to the distributor.
4. Turned over the engine, no spark.
5. Changed the coil, no spark.
6. Changed the condenser, no spark.
7. Checked the distributor cap, centre carbon contact worn, replaced cap, no spark.
8. Checked rotor button. Looked OK but changed anyway. No spark.
Spoke to a friend, Kevin in Dapto NSW, who gave me a couple of things to try. These were pretty inconclusive. I was looking for a decent spark from the distributor end of the HT lead from the coil, and it was pretty weak.
Thought before I go any further I would check the points again, just to satisfy myself the gap was right and they were not shorting out. Discovered the contact arm or spring was broken, with the 2 pieces touching under pressure. Never seen this before in my whole time with the Red Chev, but there is a first time for everything.
This could account for the miss under heavy load, but regardless, thinking that I had discovered the problem changed the points for a nice fresh new set, gaped them at 25 thou, hopped into the drivers seat, kicked it in the guts expecting the engine to fire up. Nothing, zero, dead as a doornail.
That was enough, four hours working in the heat, no luck, spat the dummy and went inside at about 9.30pm.
Did some work in the garden this morning, before I plucked up the courage to open the garage and launch into the problem for a second time.
Knowing that it has to be a fuel problem, I verified again that the fuel pump was working fine. Sprayed a bit of Areostart into the carby, nothing. Removed the vac tank suction line from the manifold, tipped in about 50 mill of petrol, and the engine bursts into life for about 5 seconds. So I know its a blockage of some sort in the carby.
Tried the easy way to dislodge it, asked my wife to turn the engine over while I blocked off the air intake to create suction to see if I could dislodge what ever was inside. No joy.
Off comes the carby, a complete strip, clean and reassemble. Interesting carby these Zeniths, they have a double float, and a rubber tipped needle and seat.
Found a few bits or crap here and there, probably just enough the block a jet or more importantly the needle and seat. Engine fires up first time, purring like an 84 year old kitten.
My diagnosis is a bit of muck was sucked through the air intake, or a bit of rusty muck broke away from inside the warm air intake. I will get some advice but suspect I need to fit some fine mesh in the air intake to trap any particles before they get into the Zenith.
So the Red Chev is up and about, all is forgiven, until next time.
But it did run beautifully on the trip home before it died.