
However when I read postings like the one below, you can only acknowledge and respect the effort and time that has gone into reclaiming the body of a car that was well beyond being a viable option to repair and restore.
If that means a wide set of chrome rims and a thumping V8, its fine by me. I just wish I had the skill and patience to do such a job.
Sure it was done as a chargeable job, but he attention to detail is incredible.
The following photos and text are from an Aussie site http://ozrodders.com
And so it begins.....Jobs in the Shop. Where may you ask?
The Lone Star Body Shop in NSW http://www.lonestarbodyshop.com.au/default.php
1936 Ford Coupe Ute
The scope of works entailed getting the body to Stage One which was to square up the cab, fabricate a sub structure, quarter panels and tailgate.
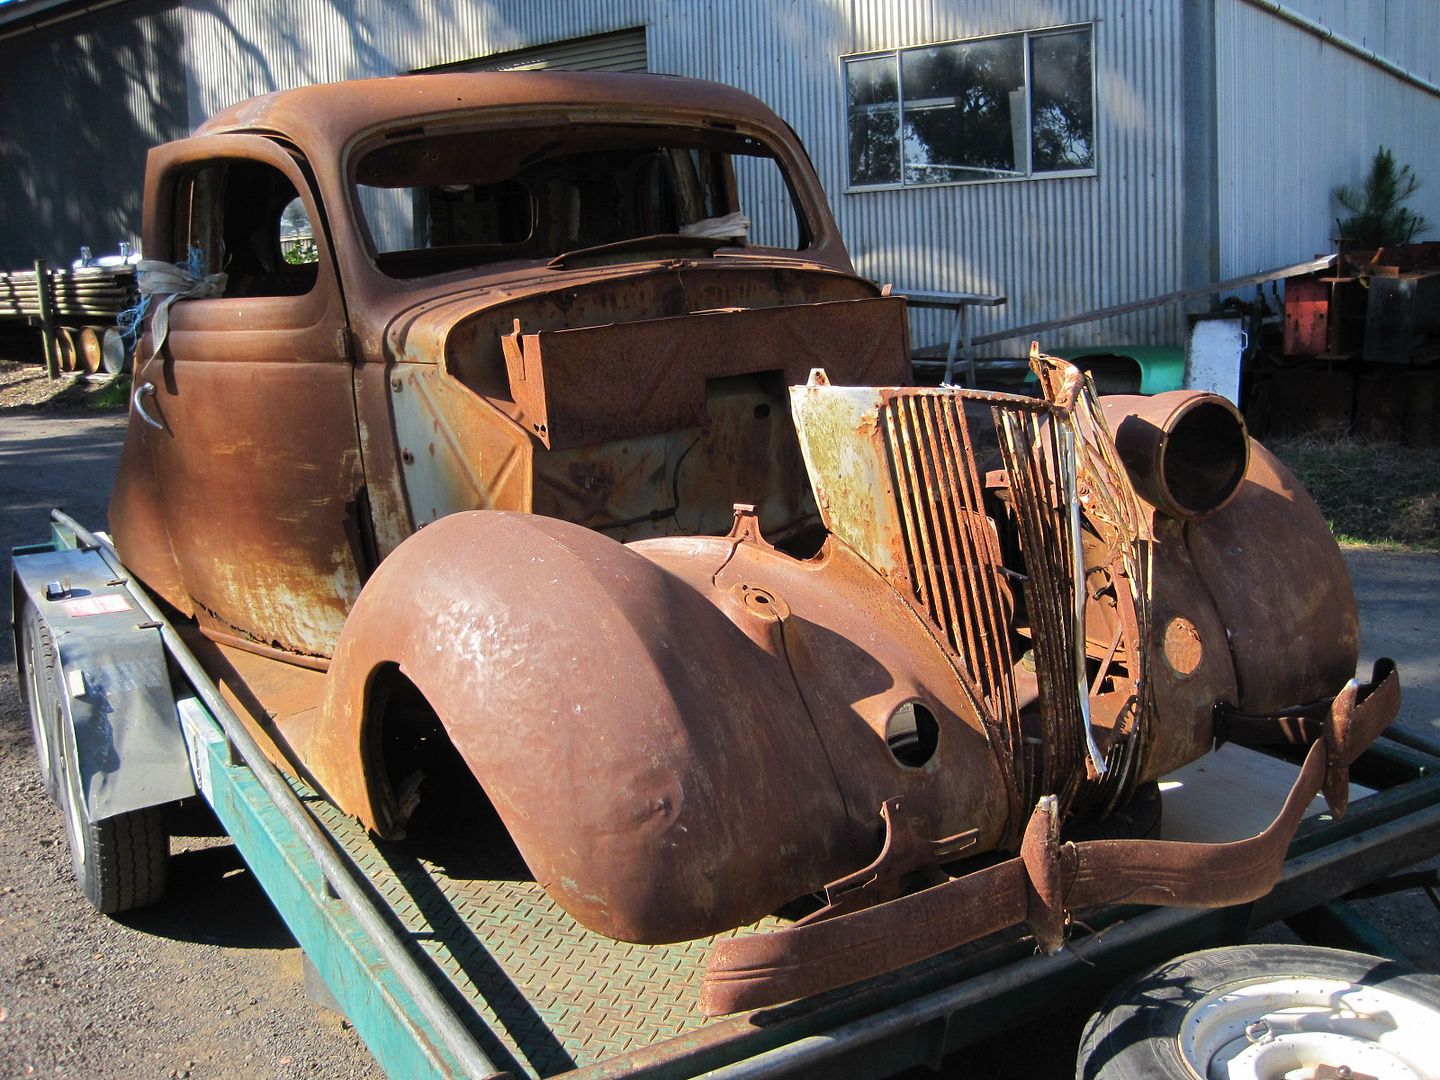
From what I can gather the ute had sat in a river bed for many years and looked pretty far gone. It had been picked over very thoroughly and there was a fair bit of damage from when the last parts were picked from it. Being out in the bush people must have just ripped the parts off it. There was a lot of consequential damage from the ute having been picked over
Here is the ute on the trailer as it arrived at the shop - many people commented that it was beyond saving
It was wheeled inside and mounted on a rotisserie to start to assess what was usable


This is the chassis the ute came in on - as the build progressed this chassis was deemed to rusty to use.

The rusty panels were removed and some structure laid to get some measurements off


Lots of damage had to be fixed on the doors and cab before the build could progress too much further. The repairs had to be made to allow the doors to be hung and gaped.


At this stage the cab was bead blasted and treated to a coat of epoxy and repairs begun


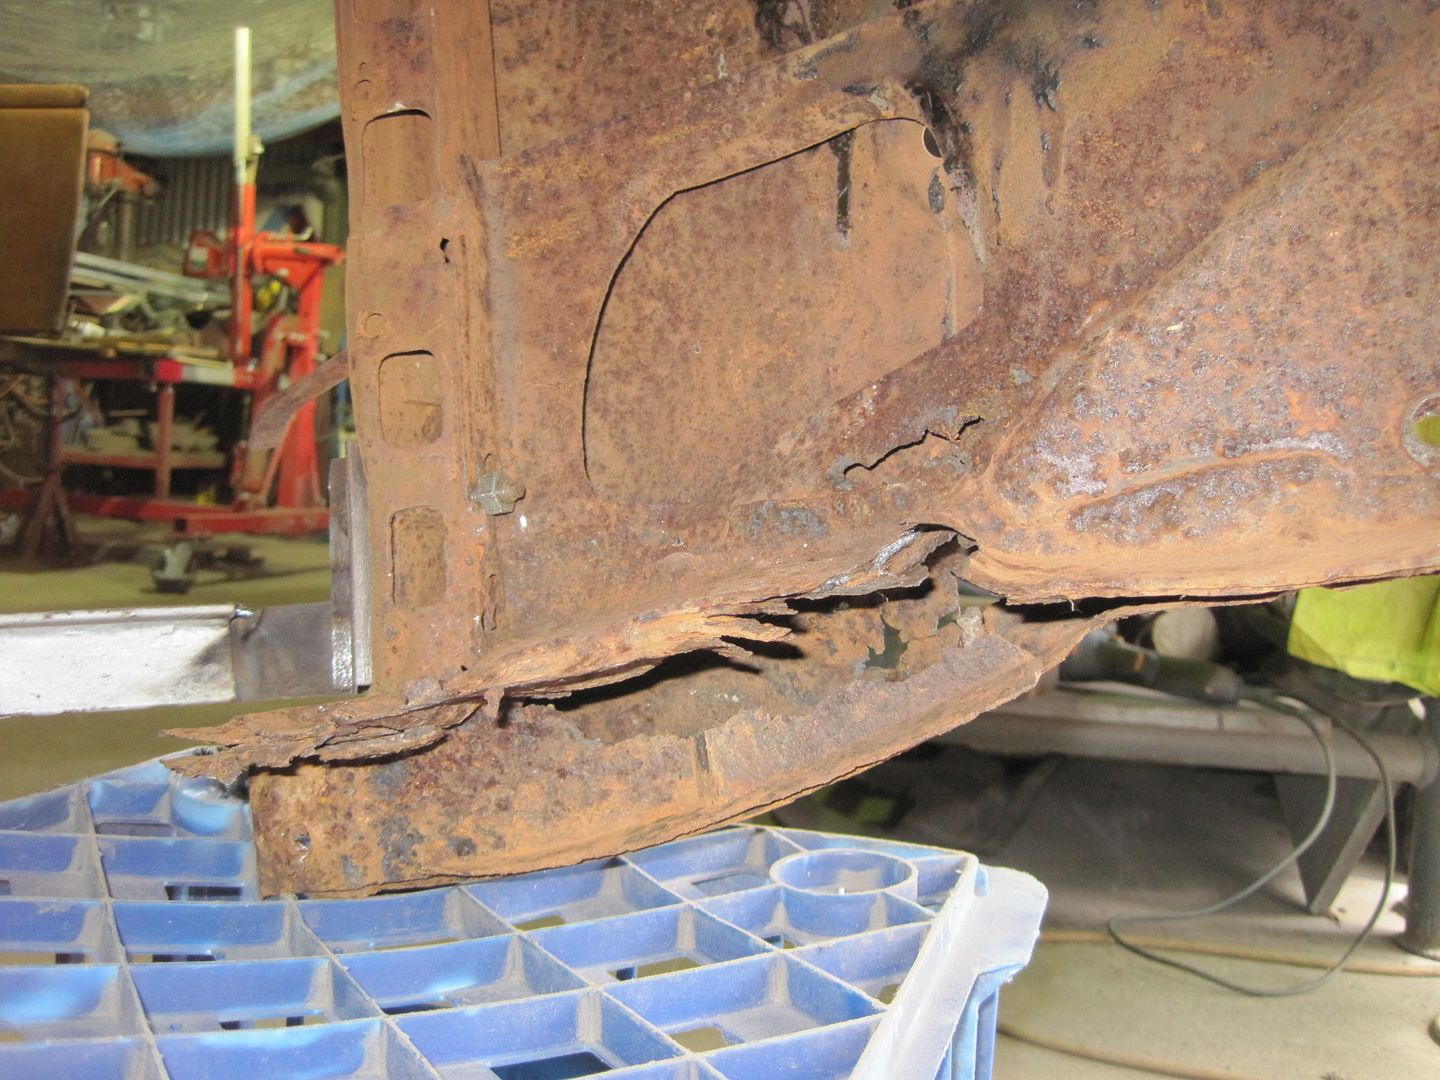
Layer by layer the rusty panels inside the foot well were removed and new replacement panels were fabricated.
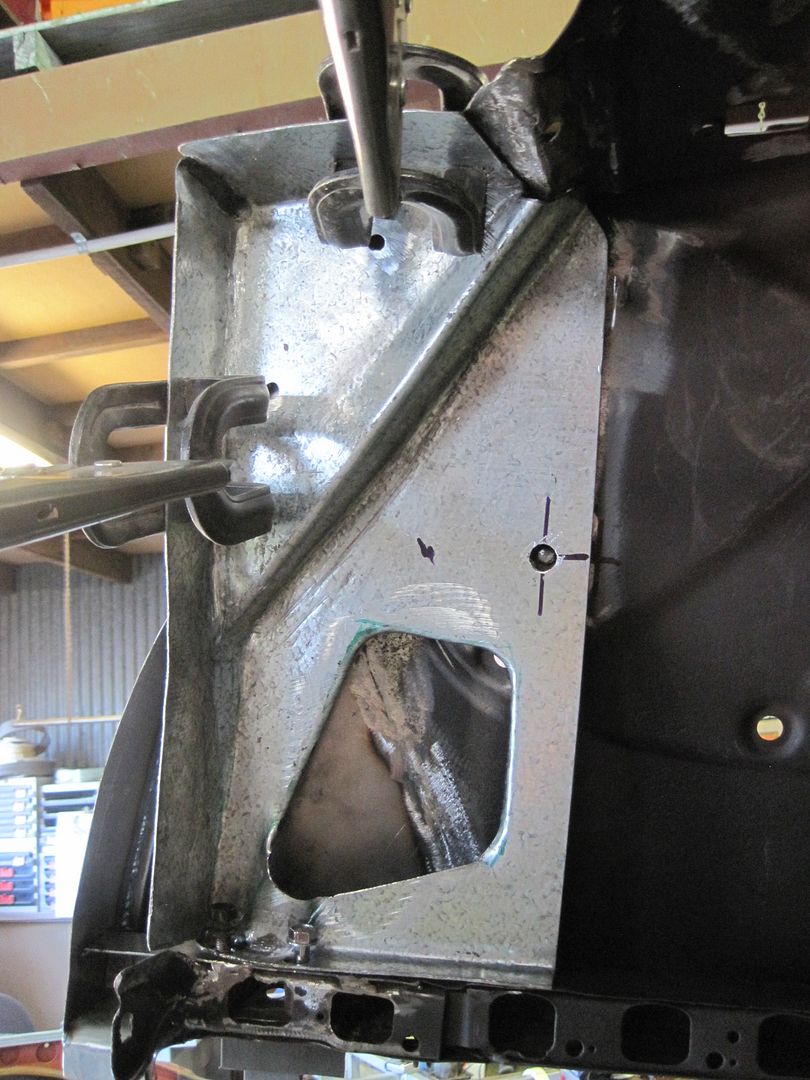

A new lower cowl panel was needed. A template was made and a panel cut out and shaped. A new die was made for the Pull max to form the bead that matches the one that runs along the bottom of the door.


Tigging the replacement panel in - pulsed tig generates approx 60% of the heat of oxy to minimise distortion


The B pillar was also restored at this point

Forming the sill panels on the English wheel using a tipping wheel and urethane lower anvil.


After the cab and doors were repaired the cab was mounted onto a new chassis as a solid foundation. This new chassis has a Holden front end with HQ front braked, P76 rotors and the ute will run a Ford Cleveland V8. Doors were hung and the cab was squared up on the chassis


The wheel well openings had to be formed and steel out sections fabricated

Here is the die being cut on the scroll saw for the Pull max that was used earlier to form the lower beads. The same beads were added to the lower edge of the quarter panel


Here are the quarter panels being offered up to the car


The tools that were used to form the SHS for the sub structure come from Pro Tools in Tampa Florida. One tool is called a tube roller used for gradual curves and a pipe bender for forming tighter radius in the SHS. Both tools were approx. ($1500 AUD exc freight)

The substructure fabrication work continued with constant measuring


Some sheet metal panels were made as infills - dimple dies were used on the holes.

Most of the bulkheads behind the seats were dome with SHS too - the factory used wood. They opted to use double skinned sheet metal panel to minimise Noise Vibration Harshness. The bulkhead skin that faces the cabin had radial beads formed from the transmission hump


The second skin of the bulkhead that faces the cargo area was formed and the Ford script was added for stiffening

From here panels were formed for the inner quarter panels. These were stepped to allow the cargo side panels to sit in a recess.


Panel underneath the bulkhead - cargo side

Wheel wells were formed from a template taken from the rusty original. These were altered as the owner wants to run a 10 inch rim


Clecos being used to hold the wheel wells in place for welding

A complete Holden Rodeo tailgate donated it's latch mechanism. Fabricating the tailgate began - there is a lot of work here in the inner skin, gaps, hinges, latches etc. Concealed hinges were part of the plan


From here there was a fair bit of welding to do.


Infill panels were fabricated to surround the wheel tub

There is alot of detail work in the cargo area to pull everything together


No comments:
Post a Comment